Welcome to the TCB Celebrate Summer Series! Today, I have Heather from Whipperberry guest posting today who stuns me weekly with her talent! Today she’s sharing how to make DIY Designer Letters. After you make them, head to her site to learn how she makes them into light up Marquee letters! Enjoy!!!

Hello all you Today’s Creative Blog friends! I’m heather from WhipperBerry and I’m thrilled to be here hanging with Kim and all of you!

I just adore Kim and everything that she does. She is one talented lady who is a BLAST to hang out with. She truly inspires me everyday!
Today I’m sharing part one of my Designer Letters project…
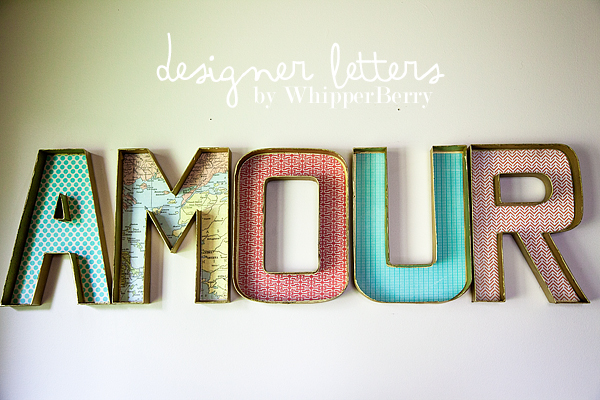
I love decorating with words and to be able to create your own with your own flair is fabulous. Not only that, but it’s the fraction of the cost of, let say… buying stylish letters at Anthropologie. Plus, you have total control over what your letters look like and what they say. A few years ago we had the wonderful opportunity to take our girls to Paris and since then, they have all been in love with the word Amour. So, it’s a perfect word to decorate our house. The nice thing is that with this project, YOU get to pick the word that has meaning for you and your family.
Supplies Needed
- Paper Mache Letters // I found mine at JoAnns
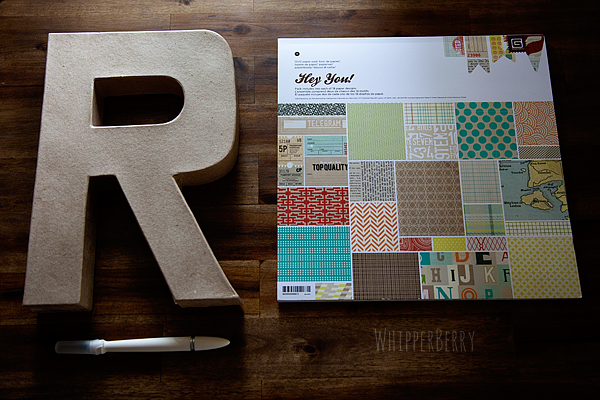
- 12×12 scrapbook paper // I used a collection from Basic Grey which I also found at JoAnns
- Craft knife // I love my Martha Stewart Craft Knife
- Gold spray paint // I used Krylon General Purpose Metallic in gold
- Double sided tape // I really like my Scotch Advanced Tape Glider
- Pencil
Instructions
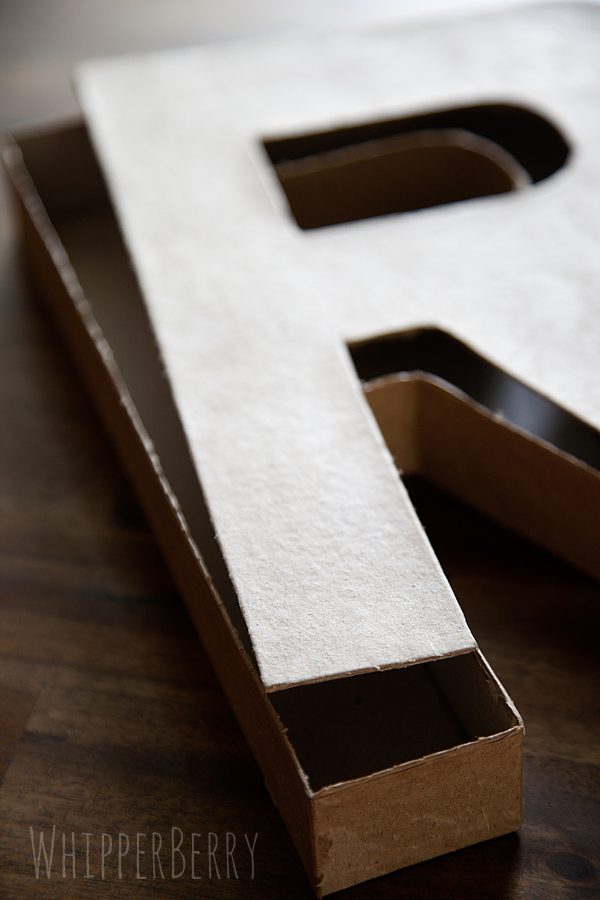
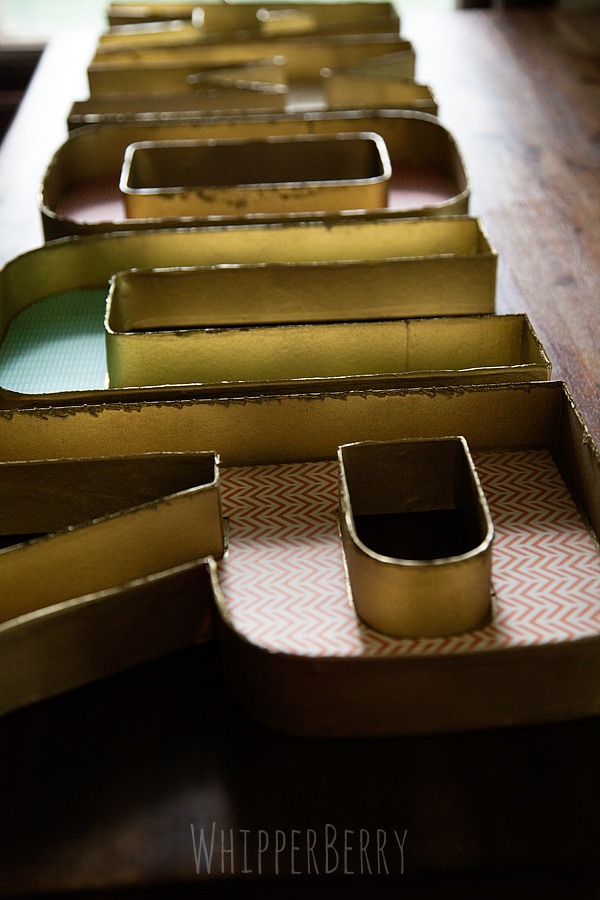
Take your craft knife and carefully remove the top of the letter…

It looks like it’s hard, but it’s really quite easy, so don’t be intimidated…
Once you have the top removed, clean up the edges a bit and spray paint the letters with the gold paint. Next, take the top of the letter and use it to trace the shape of the letter onto the scrapbook paper…
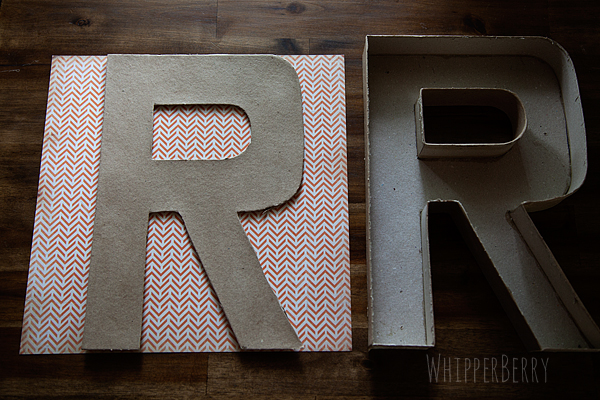
Cut the paper a little bit smaller than the actually letter that you traced, that way it will fit into the letter form. Use your glue or double sided tape to secure the paper into the letter form…
That’s about it… You now have some very stylish letters that will look fabulous anywhere in your home!
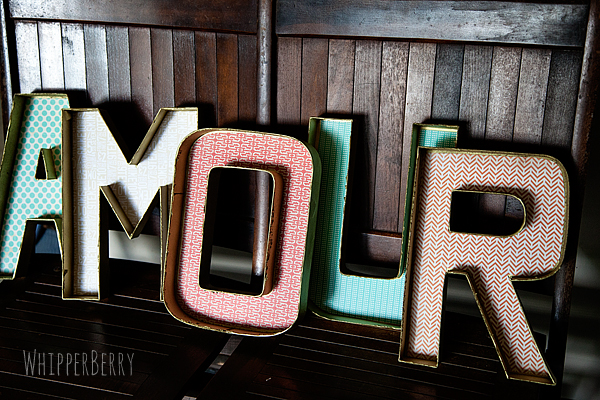
Now this is just part one for this project… Come on over to WhipperBerry to see how I add lights to these letters to turn them into stylish Marquee Letters for an even bigger POP!
Here are few more goodies from WhipperBerry that you may like…
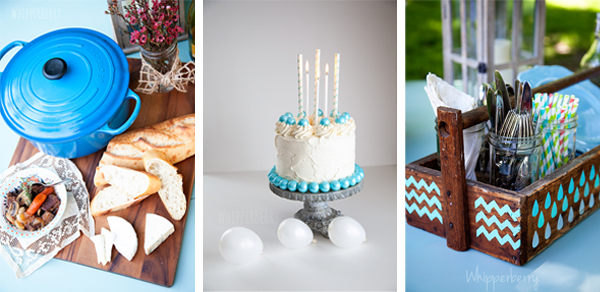
beef bourguignon // cake decorating made easy // picnic caddy
Thanks Kim for inviting me over to play today! I hope you are all having a fabulous SUMMER!!


Gail @ BibleLoveNotes.com says
What a great idea. I love the one with the map.
Libby Greenham says
Wow these are fantastic, completely inspired! Hopefully I will be able to get the letters somewhere in the UK x
Jerri C. TN says
How perfect. I am so doing these letters TODAY!! Thanks for the inspiration. Happy 4th.
Inspire Me Heather says
Beautiful letters, how fun too!