Learning how to make a notepad is so much easier than you think! Homemade DIY notepads gives you the freedom to customize for your own needs! DIY Gifts, match your home decor, organize by categories. So many options!
Give a girl a stack of Astrobright papers and tell her to create something and you’ll see a giddy smile on her face! With school starting soon, I wanted to create something bright and cheery that I can make and give to the teachers and something I could use at home. Since we’re talking middle school, I’d probably embarrass my son with some of the back to school elementary teacher gifts. I wanted to give them something simple, something they could use at home or school. Everyone needs a notepad and once you learn how to make a notepad, you’ll never buy another one! Making your own notepad opens up creative possibilities for creating a custom design or adding a personal touch.
How To Make A Notepad
Supplies Needed to Make a Notepad
Links supplies are affiliate links. This will cost you nothing extra, however, if you do decide to purchase anything after clicking, TCL will receive a very small %. Thank you for your support.
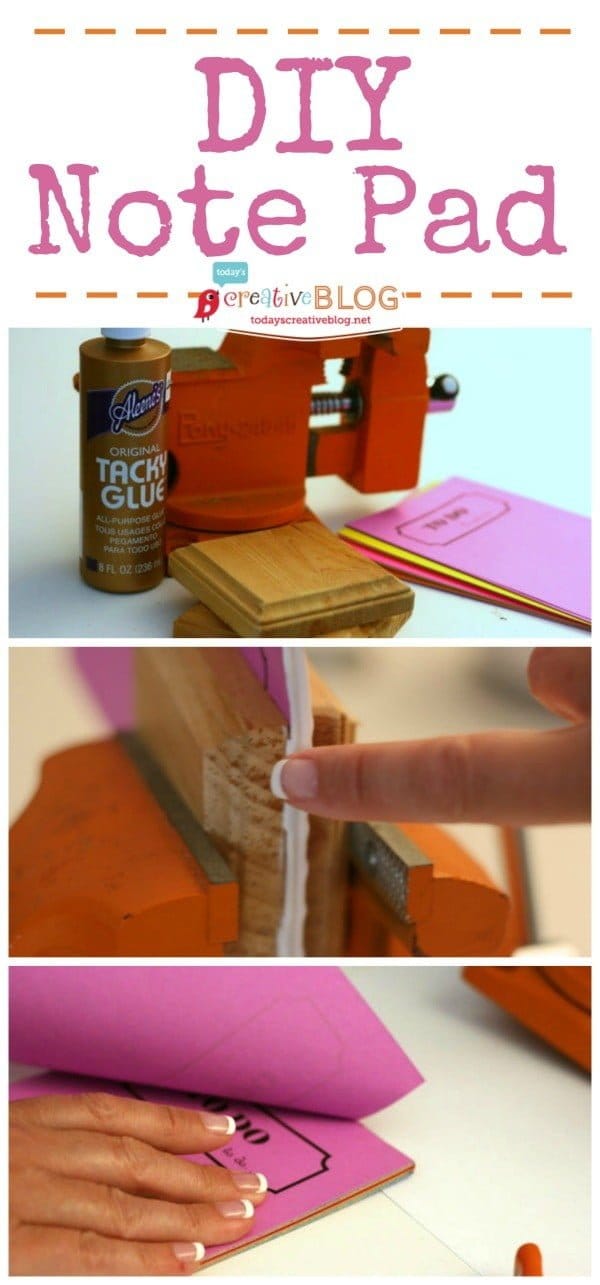
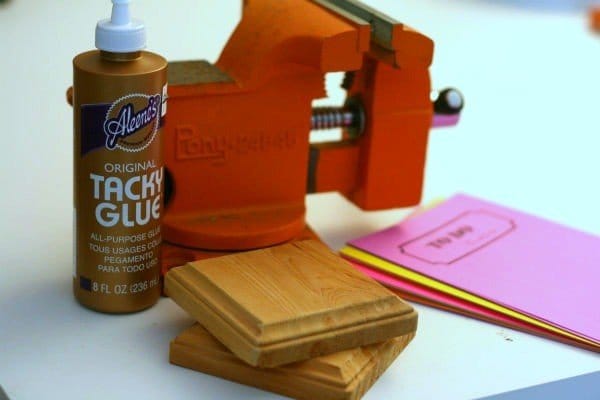
- Astrobright Paper – regular white printer paper works too.
- 2 blocks or shims of wood
- A Vice or clamps
- Printer
- Craft Glue – Elmers, Aleenes etc..
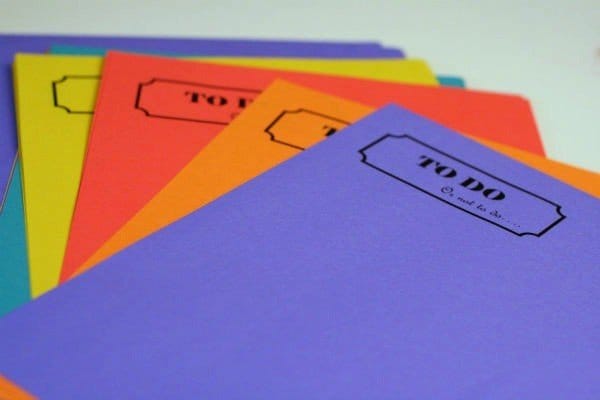
Everyone needs homemade diy notepads, a “To Do Notepad”. Using my Word program, I created a simple header. (If you already have teacher names, use their name as the header. Another great idea for elementary is to scan a drawing from your child and use that as the design). To Do……….or not to do. I thought that was a catchy header.
You can print on plain white paper too.
How to Make a NotePad Tutorial
- I printed out about 50 sheets of the paper in all the colors. Who could resist not using ALL of them?

- I wanted my memo or diy notepad to be long and narrow. I cut my paper to 5 x 11 inches. Using my husbands pretty orange vice thingy and 2 pieces of wood, I was able to squeeze the edges together tightly. C-Clamps
 work too. I followed the tutorial from Cindy on Skip to My Lou. Her’s is way prettier than mine.
- I applied glue with a brush at first and it worked pretty well.
- But then decided to just smear it on with my finger to make sure it was really thick.
- I left it alone for a couple of hours to dry.
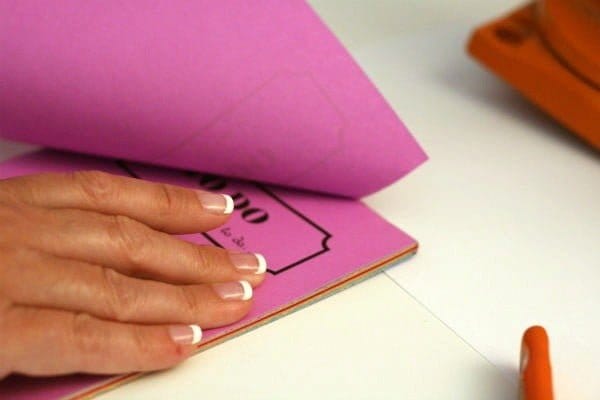
- Once dry, it’s clear. Trim off any jagged edges to make it look nice, but be careful to not pull off the full strip of glue. Each page will peel off when you pull………just like a store-bought.


Now you know how to make a notepad!
Super easy! This craft is easy enough for your children to help. If you’re working with a vice grip, you may want to assist them…….especially if it’s not mounted like mine.
DIY Home Decor and Crafts with Acrylic Paint
My favorite crafts and DIY home decor using acrylic craft paint.
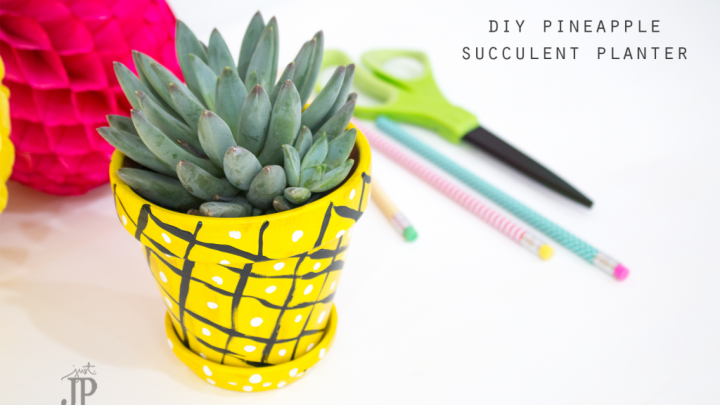
DIY Succulent Pineapple Planter
Painted terracotta pot that looks like a pineapple. An easy craft that makes a fun gift idea.
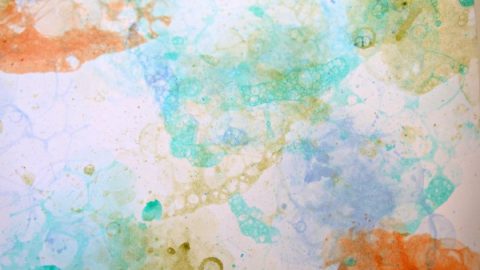
DIY Bubble Art Prints
Blow bubbles and create an art piece! This is perfect to get your kids involved.
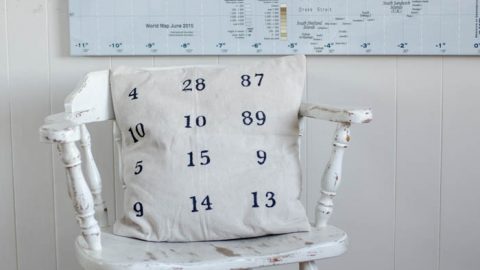
DIY Special Dates Pillow Cover
DIY home decor using a drop cloth and numbers that are special to you.

Stenciled Dish Towels with Handmade Charlotte
This DIY gift idea and matching gift box will make a statepment.
DIY Faux Patina Tutorial
This painting technique shows you how to create a distressed faux patina look.
Painted Wicker Charger Plates
No more boring paper plate chargers. Create fun designs with craft paint.

How To Paint on Fabric - Farmhouse Dish Towels
Learn how to paint on fabric and make these cute farmhouse dish towels.


TidyMom says
I never had any idea how easy I could make my own notepads!! Thanks Kim!
Thanks for linking up! I featured your post in my wrap up! http://tidymom.net/2012/12-make-at-home-projects/
Have a fabulous rest of the weekend!
Charmaine says
whatta simple but nice idea! i’m gonna have to try this.. got lots of astrobrights in my teacher’s cabinet 🙂
Patricia League says
Love your site, was checking emails and next thing I was on your site. At the same time I was designing a project on my Cameo. WOW, do I love my Cameo. My project was making a bird house ornament. But love your notepad, I’ll have to try that next!
Kim says
Welcome Patricia! Cameo’s are the best!
Aahnay says
I think, iirc (im older than the moon), we used to use rubber cement on the edges, way, way, way back when. Does anyone even use that anymore?
Mary Jo Price-Williams says
Got to love tacky glue–never tried this one but will later today! TFS!
gail says
very cool project Kim! pinning it!
gail
Brooke @ Inside-Out Design says
This is awesome!! I want to make one for myself!!
Kim @ seven thirty three says
Seriously? JUST craft glue? I went out and bought the expensive “notepad” adhesive stuff for nothing? That’s awesome! The notepads turned out great, and the bright colors just make them eye candy. 🙂
Kim says
Seriously! so easy! Cindy from SKip to my Lou said it may be stiff and that’s why she uses a silicone glue…….but my notepad isn’t that big and will be used up quickly!
Jenny Rohrs says
Very clever! Who could resist crossing off the items on an list as bright and cheery as that??